
Creating Agents
What is an agent in SquadOS?
Section titled “What is an agent in SquadOS?”An agent is an AI with an identity, behavior, and capabilities you define. It receives messages from users through one or more channels, processes the content using a configured language model — querying knowledge bases and triggering tools when needed — and sends a response back. All autonomously. Think of it as a digital collaborator you train via prompt, equip with tools, and publish to real communication channels.
An agent in SquadOS combines prompt, model, tools, knowledge bases, and channels. This guide walks the basic flow to create a working agent and leaves advanced settings to dedicated pages.
Before you start
Section titled “Before you start”Have these in mind:
- What the agent should solve.
- Who will talk to it.
- What information it can use.
- Which channels it will be published on.
The clearer the agent’s role, the better SquadOS can help with configuration.
For example: if you want a support agent for your SaaS, the role is “answer technical questions from users based on the documentation”, the audience is “customers on an active plan”, and the information is “your docs knowledge base”. With that defined, the prompt stays focused and the agent won’t drift outside the expected scope.
Creating the agent
Section titled “Creating the agent”In the side menu, open Agents to see the list of agents in the organization.
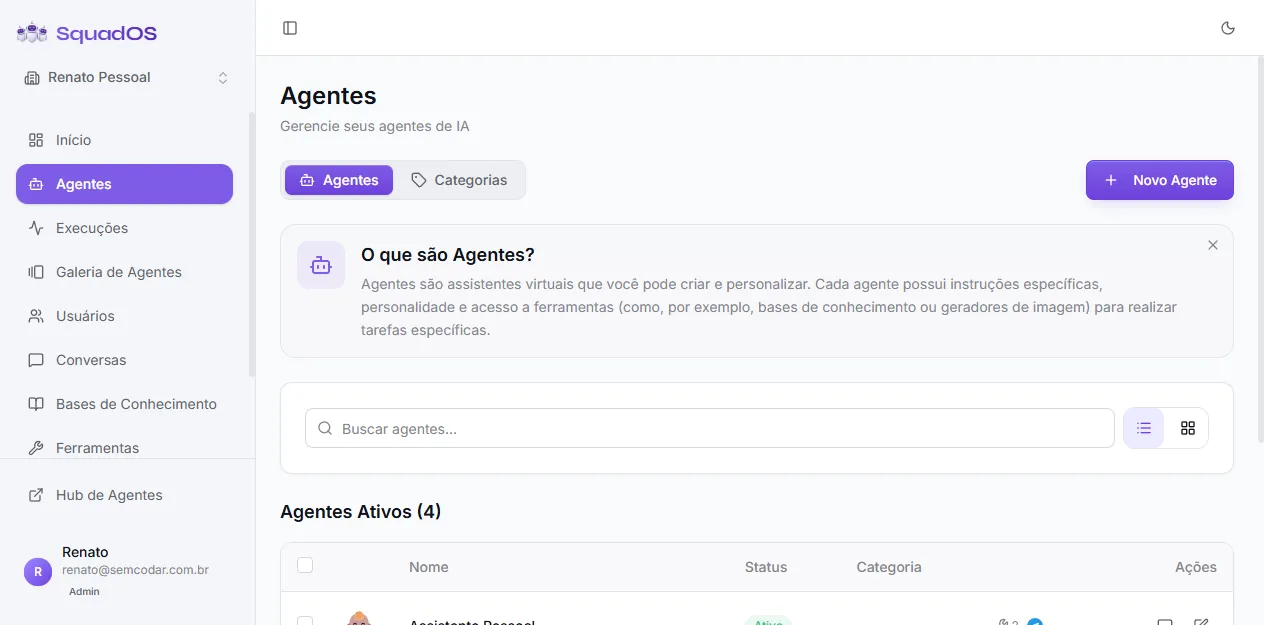
- Click + New Agent in the top right.
- Give the agent a clear name (e.g.,
Support Assistant,Sales SDR). - Click Create Agent.
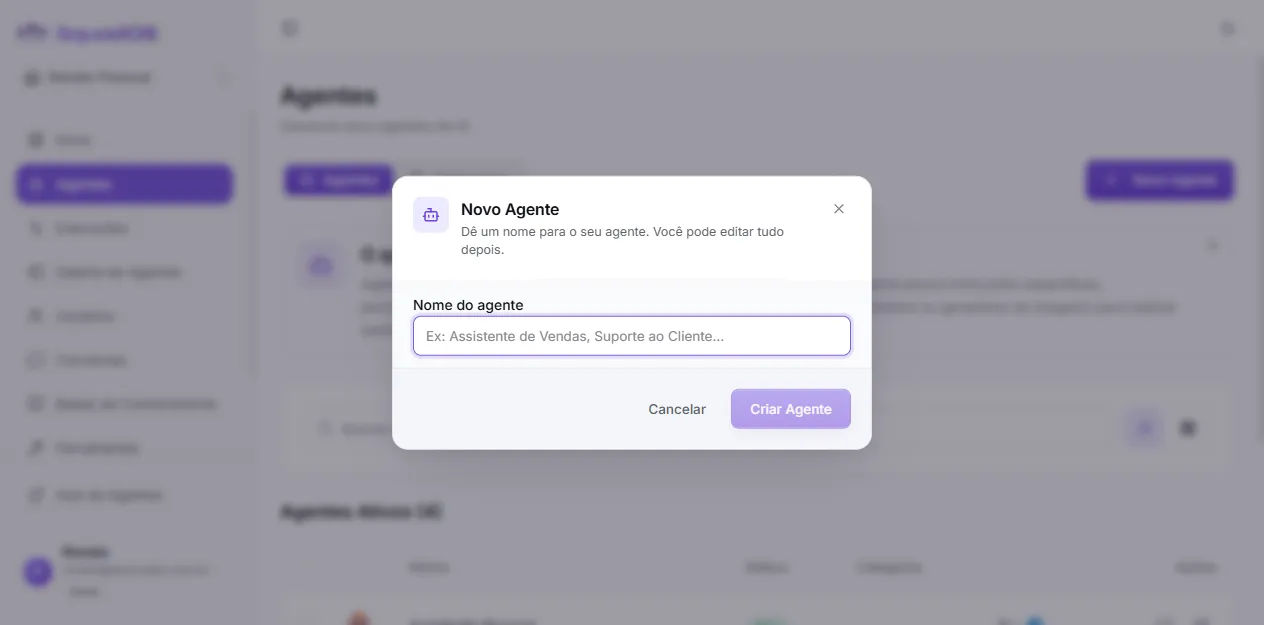
SquadOS creates the agent and takes you straight to the editor with the Prompt tab open. From there, you can customize avatar, description, and the main prompt.
Configuring the editor sections
Section titled “Configuring the editor sections”The agent editor has a sidebar with seven sections. You can fill them in any order, but this sequence usually flows well:
- Prompt: identity, rules, tone, and limits. This is the most important section — a well-written prompt prevents off-scope replies, defines how the agent presents itself, and ensures tone consistency across all conversations.
- Tools: actions the agent can perform (query bases, generate images, call APIs). Only enable tools that make sense for the use case — unnecessary tools add latency and can confuse the model.
- Triggers: channels and events that start conversations (Telegram, WhatsApp, widget, public URL, scheduling). You need at least one active trigger for the agent to receive messages from external users.
- Model: the AI model, cost, capabilities, and reasoning. More capable models tend to follow instructions better; smaller models respond faster and cost less — choose based on the complexity of expected conversations.
- Multimodal: how the agent handles incoming images, files, and audio. Configure this section if users will send documents or photos during conversations.
- Security: guardrail against jailbreak and prompt injection. Enable this especially for public-facing agents, where you don’t control who interacts with them.
- Advanced: temperature, history, response limit, active status, and danger zone. Leave defaults until you know exactly what needs adjusting.
Testing
Section titled “Testing”Click the Test Agent button in the top right of the editor to open the internal Hub with this agent selected. Chat as a real user and check:
- whether the agent understood the goal;
- whether it asked for information when needed;
- whether it used tools only when it made sense;
- whether the tone is right;
- whether replies were too long or too short.
Go beyond the happy path: ask a question outside the agent’s scope and see if it refuses gracefully or answers anyway. If the agent is multimodal, send an image and verify it interprets it correctly. If you have knowledge bases connected, ask something that only exists in the documents and confirm the answer uses that information — not just the model’s general knowledge. Adjust the prompt and repeat until the behavior is consistent.
Publishing
Section titled “Publishing”When the agent is ready, open the Triggers tab and connect at least one channel — Telegram, WhatsApp, web widget, public URL, API, or scheduling. Each channel has its own guide under Triggers.
Next steps
Section titled “Next steps”- Knowledge Bases — connect documents so the agent answers with your company’s context
- Triggers — publish the agent to the channels where your users are
- Conversations — monitor and manage ongoing conversations